
Piano Posture and Hand Position
Helping students to develop good posture habits at the piano is one of the most important things our piano instructors can teach. Assisting our students in finding proper posture should begin from the very first lesson.
It’s easy to overlook piano posture in early lessons when it feels like there are so many other (more exciting!) things to teach. But while posture isn’t something you can reinforce with cute-looking games or off-the-bench fun, it is something that should be addressed early and frequently with young pianists. It’s also something that should be asked of piano parents to reinforce during home practice.
When it comes to good piano posture habits, consistency is critical; as is having a clear idea of how young piano students should be seated at the piano during lessons, home practice, and piano performances.
Starting the piano lesson experience with good habits is much easier than attempting to fix bad habits down the road once problems begin to appear.
In this blog, we are sharing tips on perfect piano posture and hand position for piano students. We’ll go over the most common piano posture tips and delve into less obvious posture considerations.
Why Is Good Piano Posture Important?
1. Good Piano Posture Eliminates Tension
2. Good Piano Posture Prevents Fatigue
3. Good Piano Posture Benefits Playing Abilities
The Most Common Piano Posture Problems
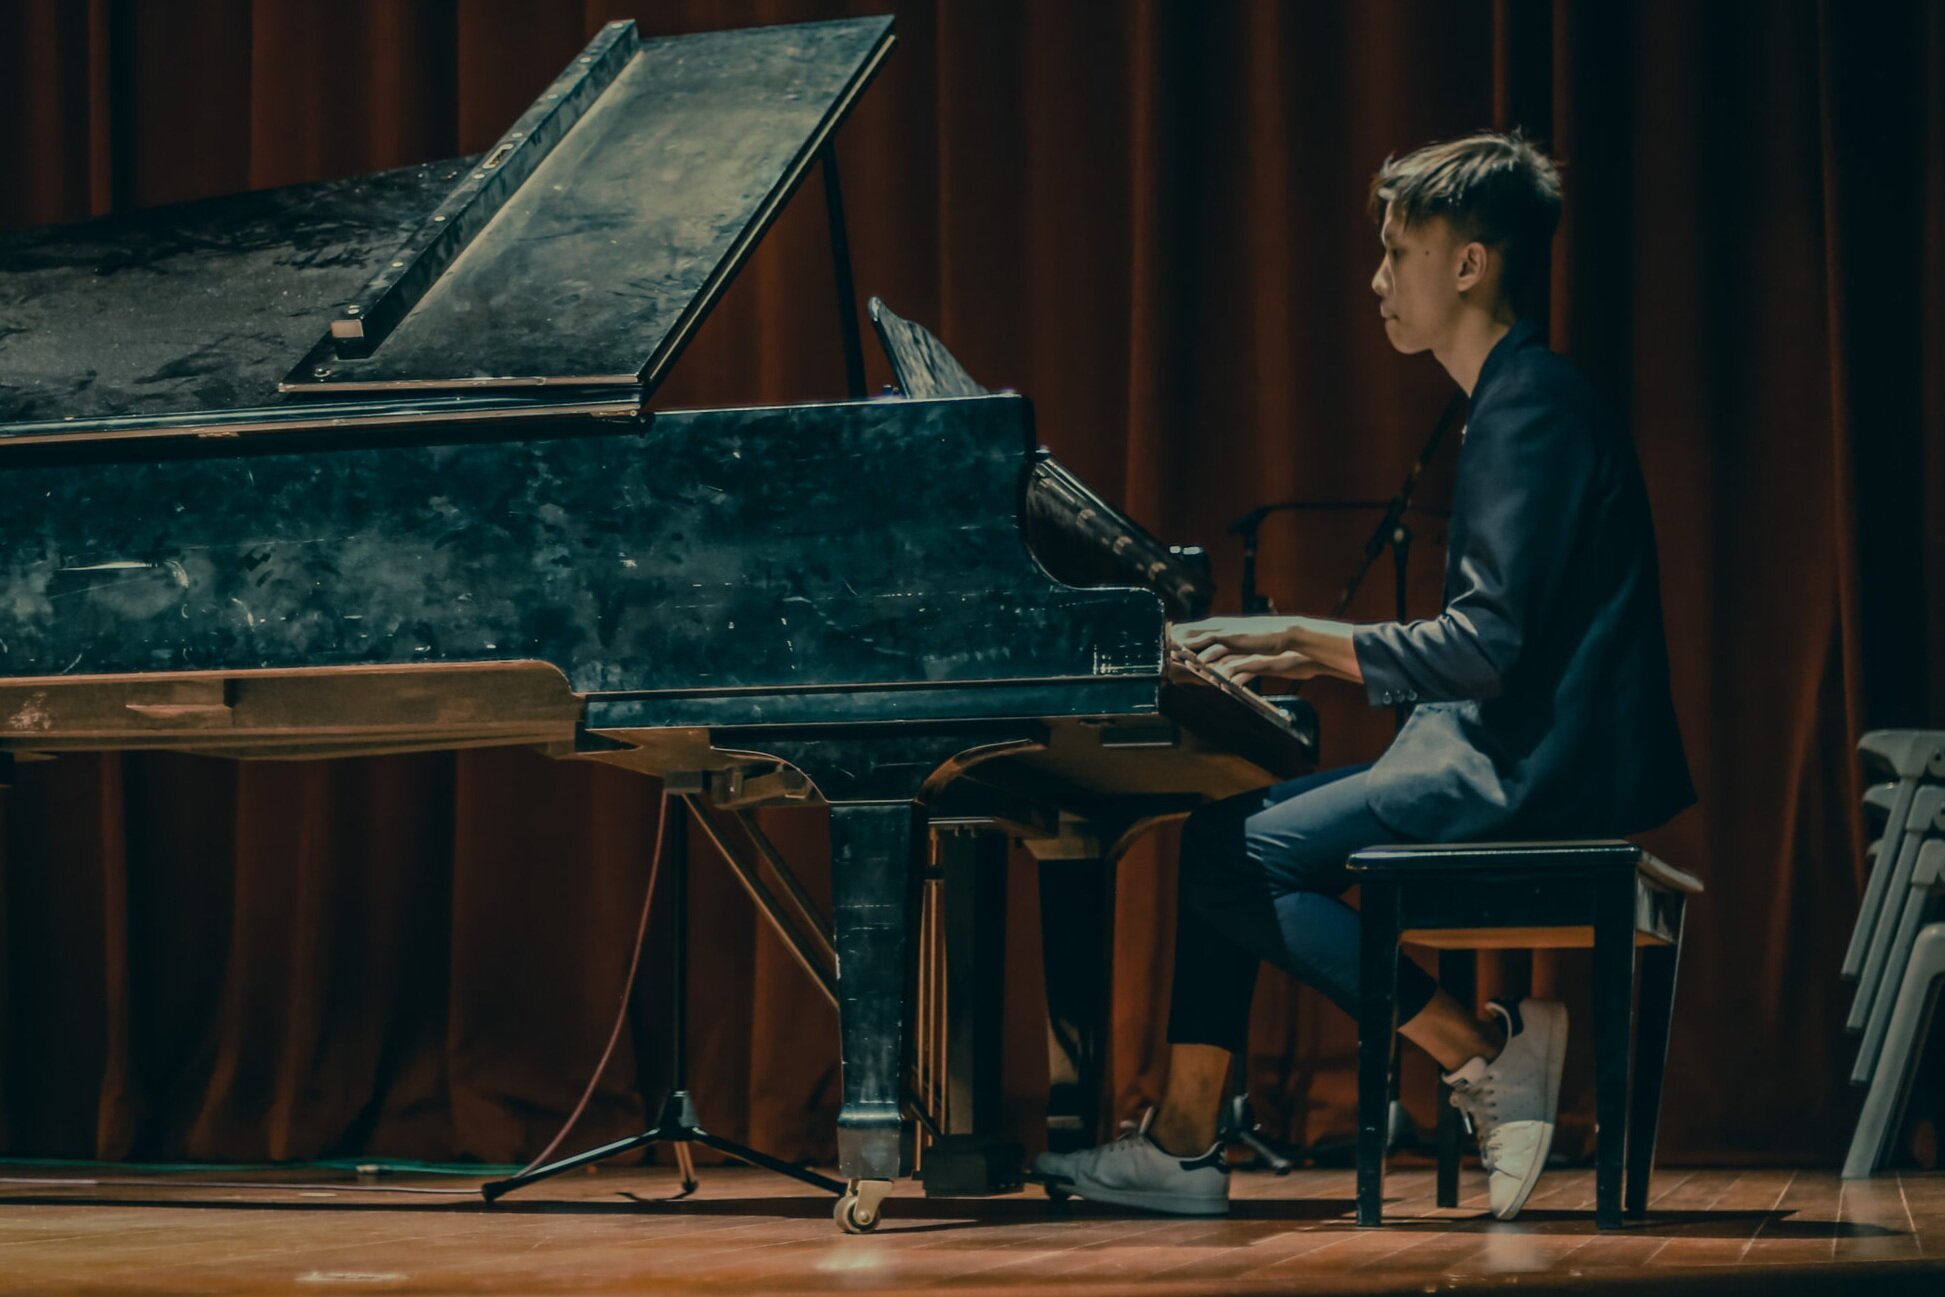
1. Piano Bench Height
2. Piano Bench Distance
3. Hand Shape On The Piano
Delving Deeper Into Piano Posture Problems
1. Tension In The Shoulders
2. Tension In The Elbows
3. Head Positioning
4. Wrist And Hand Positioning
Learn More About Piano Posture and Hand Position
WHY IS GOOD PIANO POSTURE IMPORTANT?

There is something so beautiful about piano students who sit at the piano with proper posture. It helps to project an air of confidence and grace and contributes to good performances. However, piano posture isn’t only about how students look at the piano… it’s also about how they feel at the piano.
Poor piano posture contributes to tension, causes fatigue, and creates difficulties that will affect students’ playing abilities. Just as athletes spend significant amounts of time perfecting their positioning, pianists should do the same to get the most out of their instrument.
1. Good Piano Posture Eliminates Tension
For your piano students to play efficiently, they need to be tension-free. Correct posture at the piano is vital in eliminating tension areas that directly and indirectly affect their ability to play with accuracy, expression, and fluidity.
Tension creeps in when piano students aren’t appropriately seated at the piano, or when their hand position isn’t natural. Good posture at the piano eliminates the most common causes of tension in students.
2. Good Piano Posture Prevents Fatigue
We all want children who happily practice regularly at home. But if students are uncomfortable on the bench or if your students use incorrect posture, they can experience fatigue in their backs, arms, hands, and fingers, making their practice less enjoyable and, therefore, less likely to happen frequently.
Muscle fatigue also affects students’ abilities as they head into advanced repertoire that is more physically demanding. Fatigue can lead to injury, which we all want to avoid (especially with children’s developing hands).
3. Good Piano Posture Benefits Playing Abilities
Piano students will play with more accuracy, expression, fluidity, and more speed (when required) if they have developed good posture habits. As repertoire becomes more and more difficult, students will be more able to rise to the challenge if their posture is correct. When it comes to student progress, piano posture contributes to their advancement as much as other skills do.
THE MOST COMMON PIANO POSTURE PROBLEMS
When fixing piano posture with your child, begin with the obvious first. Setting students up for success from the first lesson means teaching them the basics of good piano posture immediately. Encourage your pianists to check the following (with guidance) in their practice time on their home instruments when they practice.
1. Piano Bench Height
One of the most important considerations is the height of the piano bench. When seated, piano students should be able to reach the keys while keeping their forearms parallel to the ground. If students’ arms are angled up toward the keys and their wrists are bent down, the bench is too low. If their arms are angled down toward the keys and their hands are below their wrists, the bench is too high.
If you don’t have an adjustable bench, you can use foam squares under the bench’s legs to raise it to the correct height. If your bench is consistently too high for piano students, it’s likely time to seek out a new bench. Once you have the bench height correct, check students’ feet; they should be flat on the floor to provide them with a sense of balance and stability. If their feet are dangling off the bench they need a footstool (both in lessons and at home). If students require a footstool and play pieces that require the damper pedal, you should use a pedal extender.
2. Piano Bench Distance
The distance of the piano bench from the keyboard is also a consideration. Students’ elbows should be bent at a 90-degree angle when their fingers are on the keys. If students’ elbows are bent too much, move the bench back. If students’ elbows are hardly bent, move the bench forward.
A quick way to find the right distance is to ask students to make a fist and reach to touch their fist to the fallboard of the piano; their knuckles should just be able to touch.
3. Hand Shape On The Piano
Once students are seated at the correct height and distance from the keys, it’s time to pay attention to their hands. The back of their hands should be in alignment with their forearms. Their fingers should be naturally curved with their pinkies’ tips and the sides of their thumbs resting on the keys. The thumb can be a problematic finger for some students. Use this cute little trick to fix thumb problems.
An easy way to help students find this hand shape is to have them cup their hands over their knee caps and maintain that shape as they lift their hands to the keys.
Ensure students’ wrists are loose and flexible to allow for ease of movement and double-check that they are playing the keys with the pads of their fingers without bending at the first finger joint.
DELVING DEEPER INTO PIANO POSTURE PROBLEMS
Once the most apparent piano posture fixes are in place, it’s time to pay attention to the smaller, less obvious piano posture aspects. Even a slight position change can make a world of difference to piano students.
1. Tension In The Shoulders
Some piano students carry tension in their shoulders even when seated correctly at the piano. Check to be sure that their shoulders are relaxed down and away from their ears and monitor this as they play to ensure that subconscious tension doesn’t cause their shoulders to rise up.
Students should feel their shoulder blades drop backward, and their shoulder joints should be loose to allow for arm movement. Please encourage students to breathe naturally as they play to help them release shoulder tension and maintain it.
2. Tension In The Elbows
Even if piano students’ elbows are bent at the correct 90-degree angle, you should also check to be sure they are held at a comfortable distance from students’ torso. Elbows should not be touching students’ sides, but should also not be held out too far from the body. Seek out a natural, relaxed position where the elbows are held loosely away from the ribcage.
3. Head Positioning
Check to be sure that students’ heads are in line with their spines and that their chins are not pulling forward as they play. Having a straight back with a balanced head will drastically reduce fatigue on the bench. Have your child imagine a line going from the top of their heads right down to their tailbones and encourage them to maintain this tall stance by engaging their core muscles as they sit at the piano.
4. Wrist And Hand Positioning
Once your child have found comfortable, curved hand shapes, double-check that their pinky fingers are in line with the sides of their hands, wrists, and forearms (avoid having their hands splay out to one side). Watch for tension in the pinky finger that will cause it to straighten and point up. Try these activities if you need to fix a stiff pinky finger.